Side Hustle Idea (Basketball Hoop Installation)
May 8, 2014Is Mountain Biking a great workout?
September 26, 2024
My DIY Teardrop Camper Journey
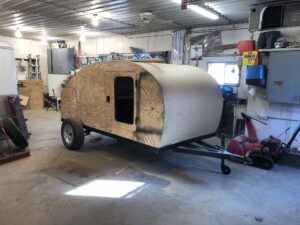
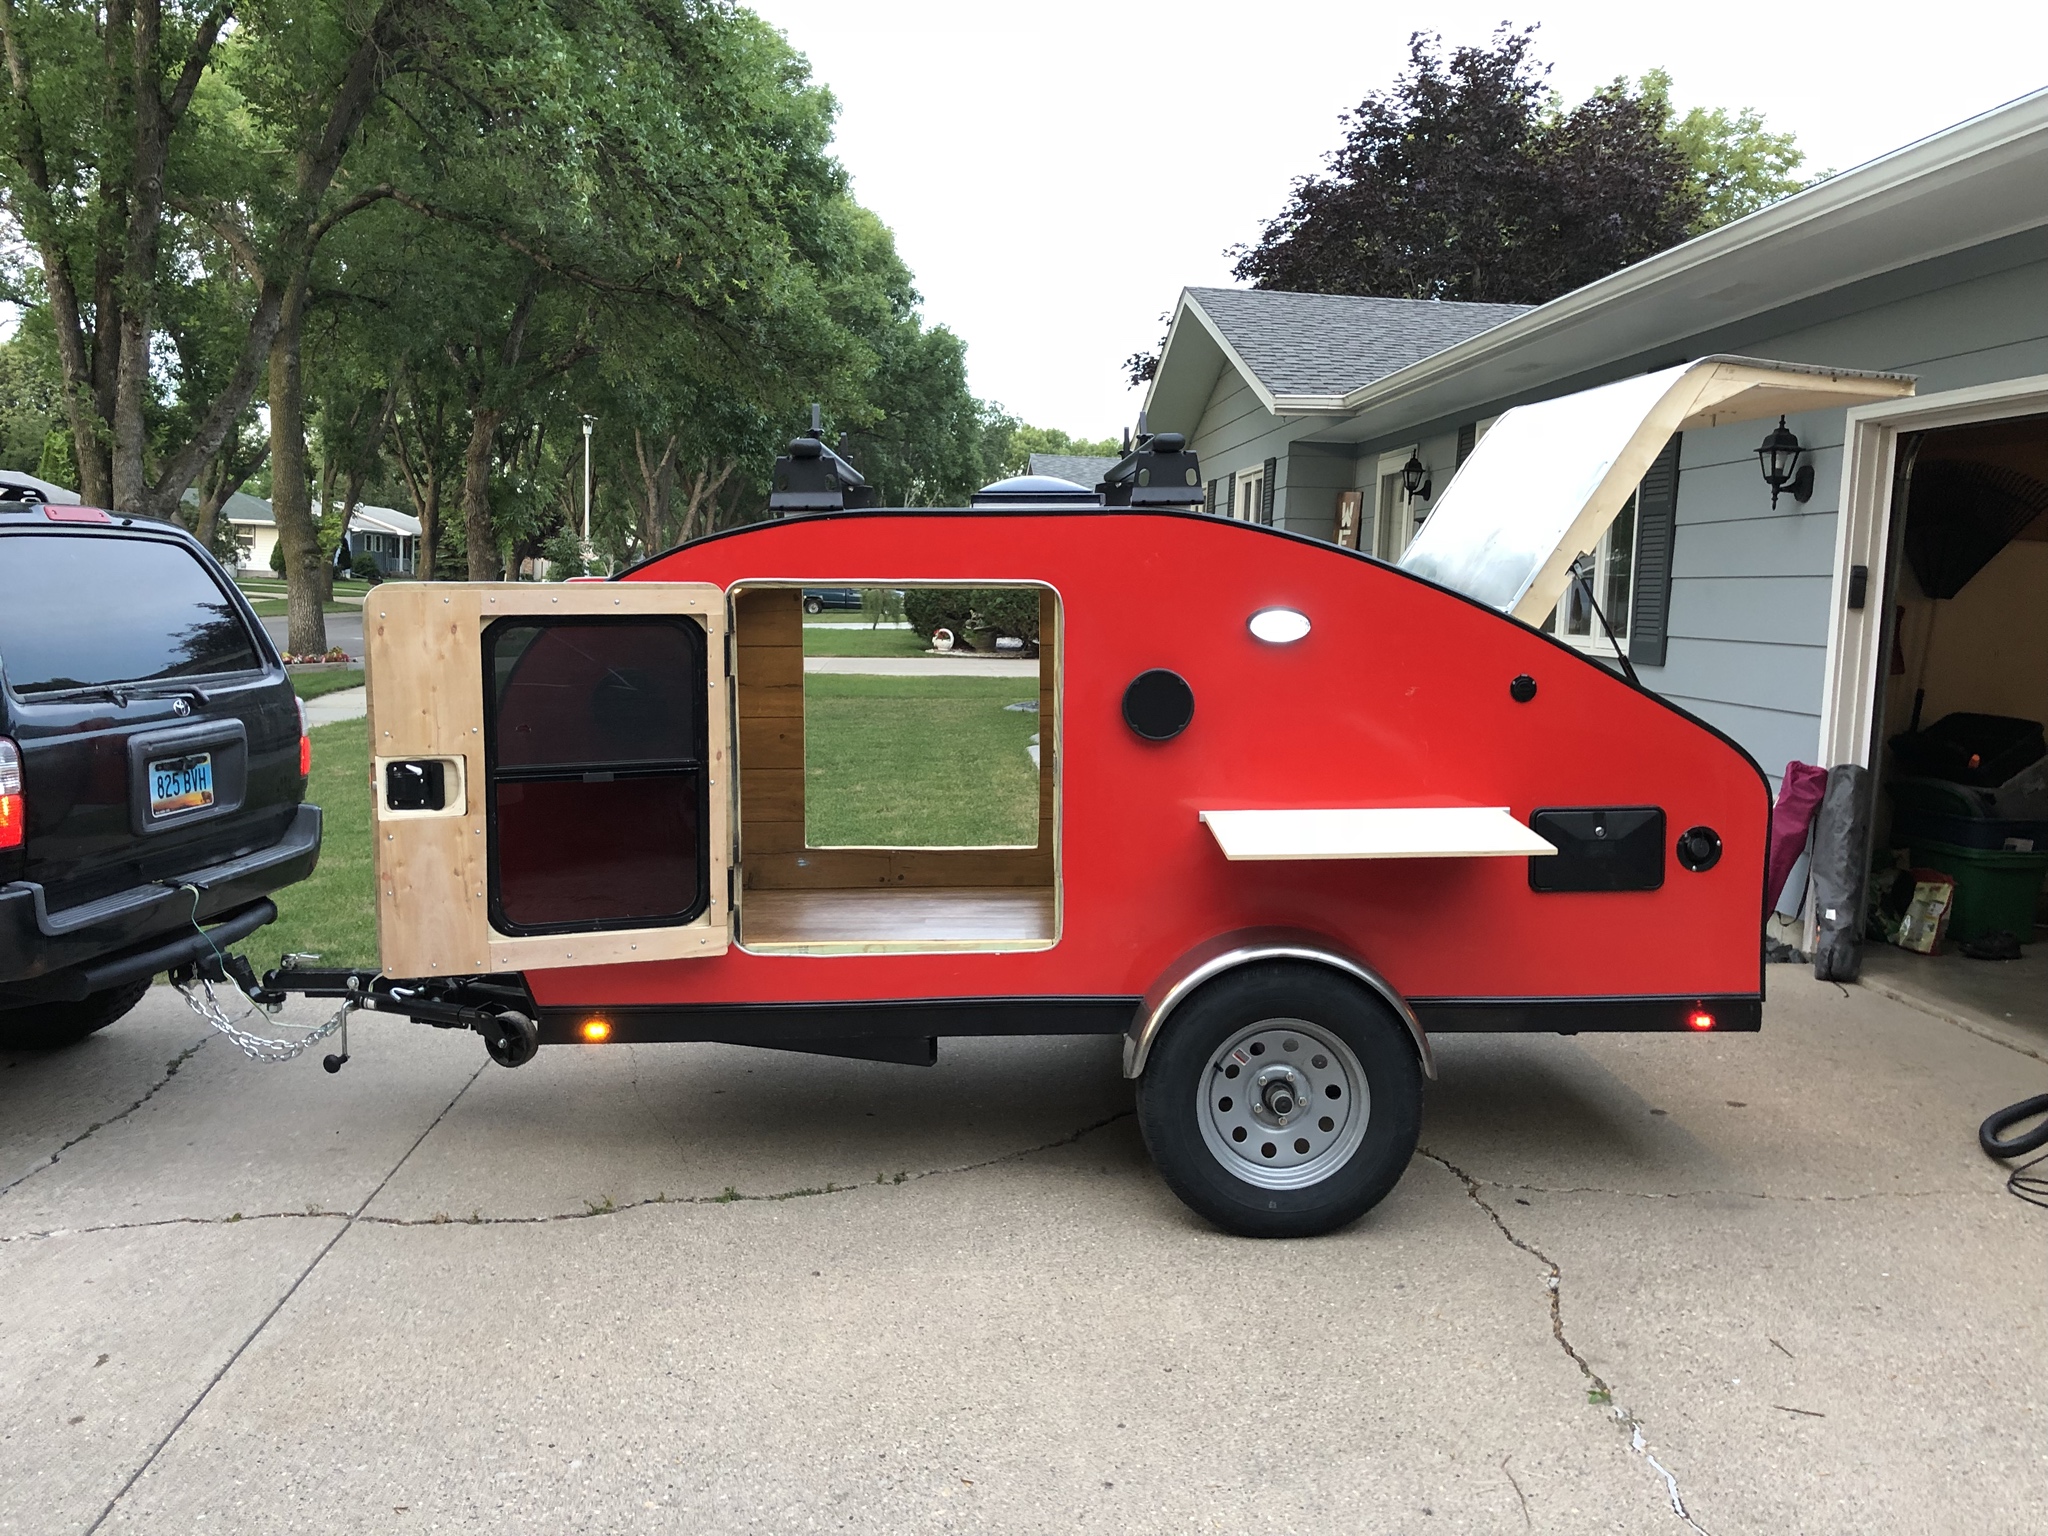
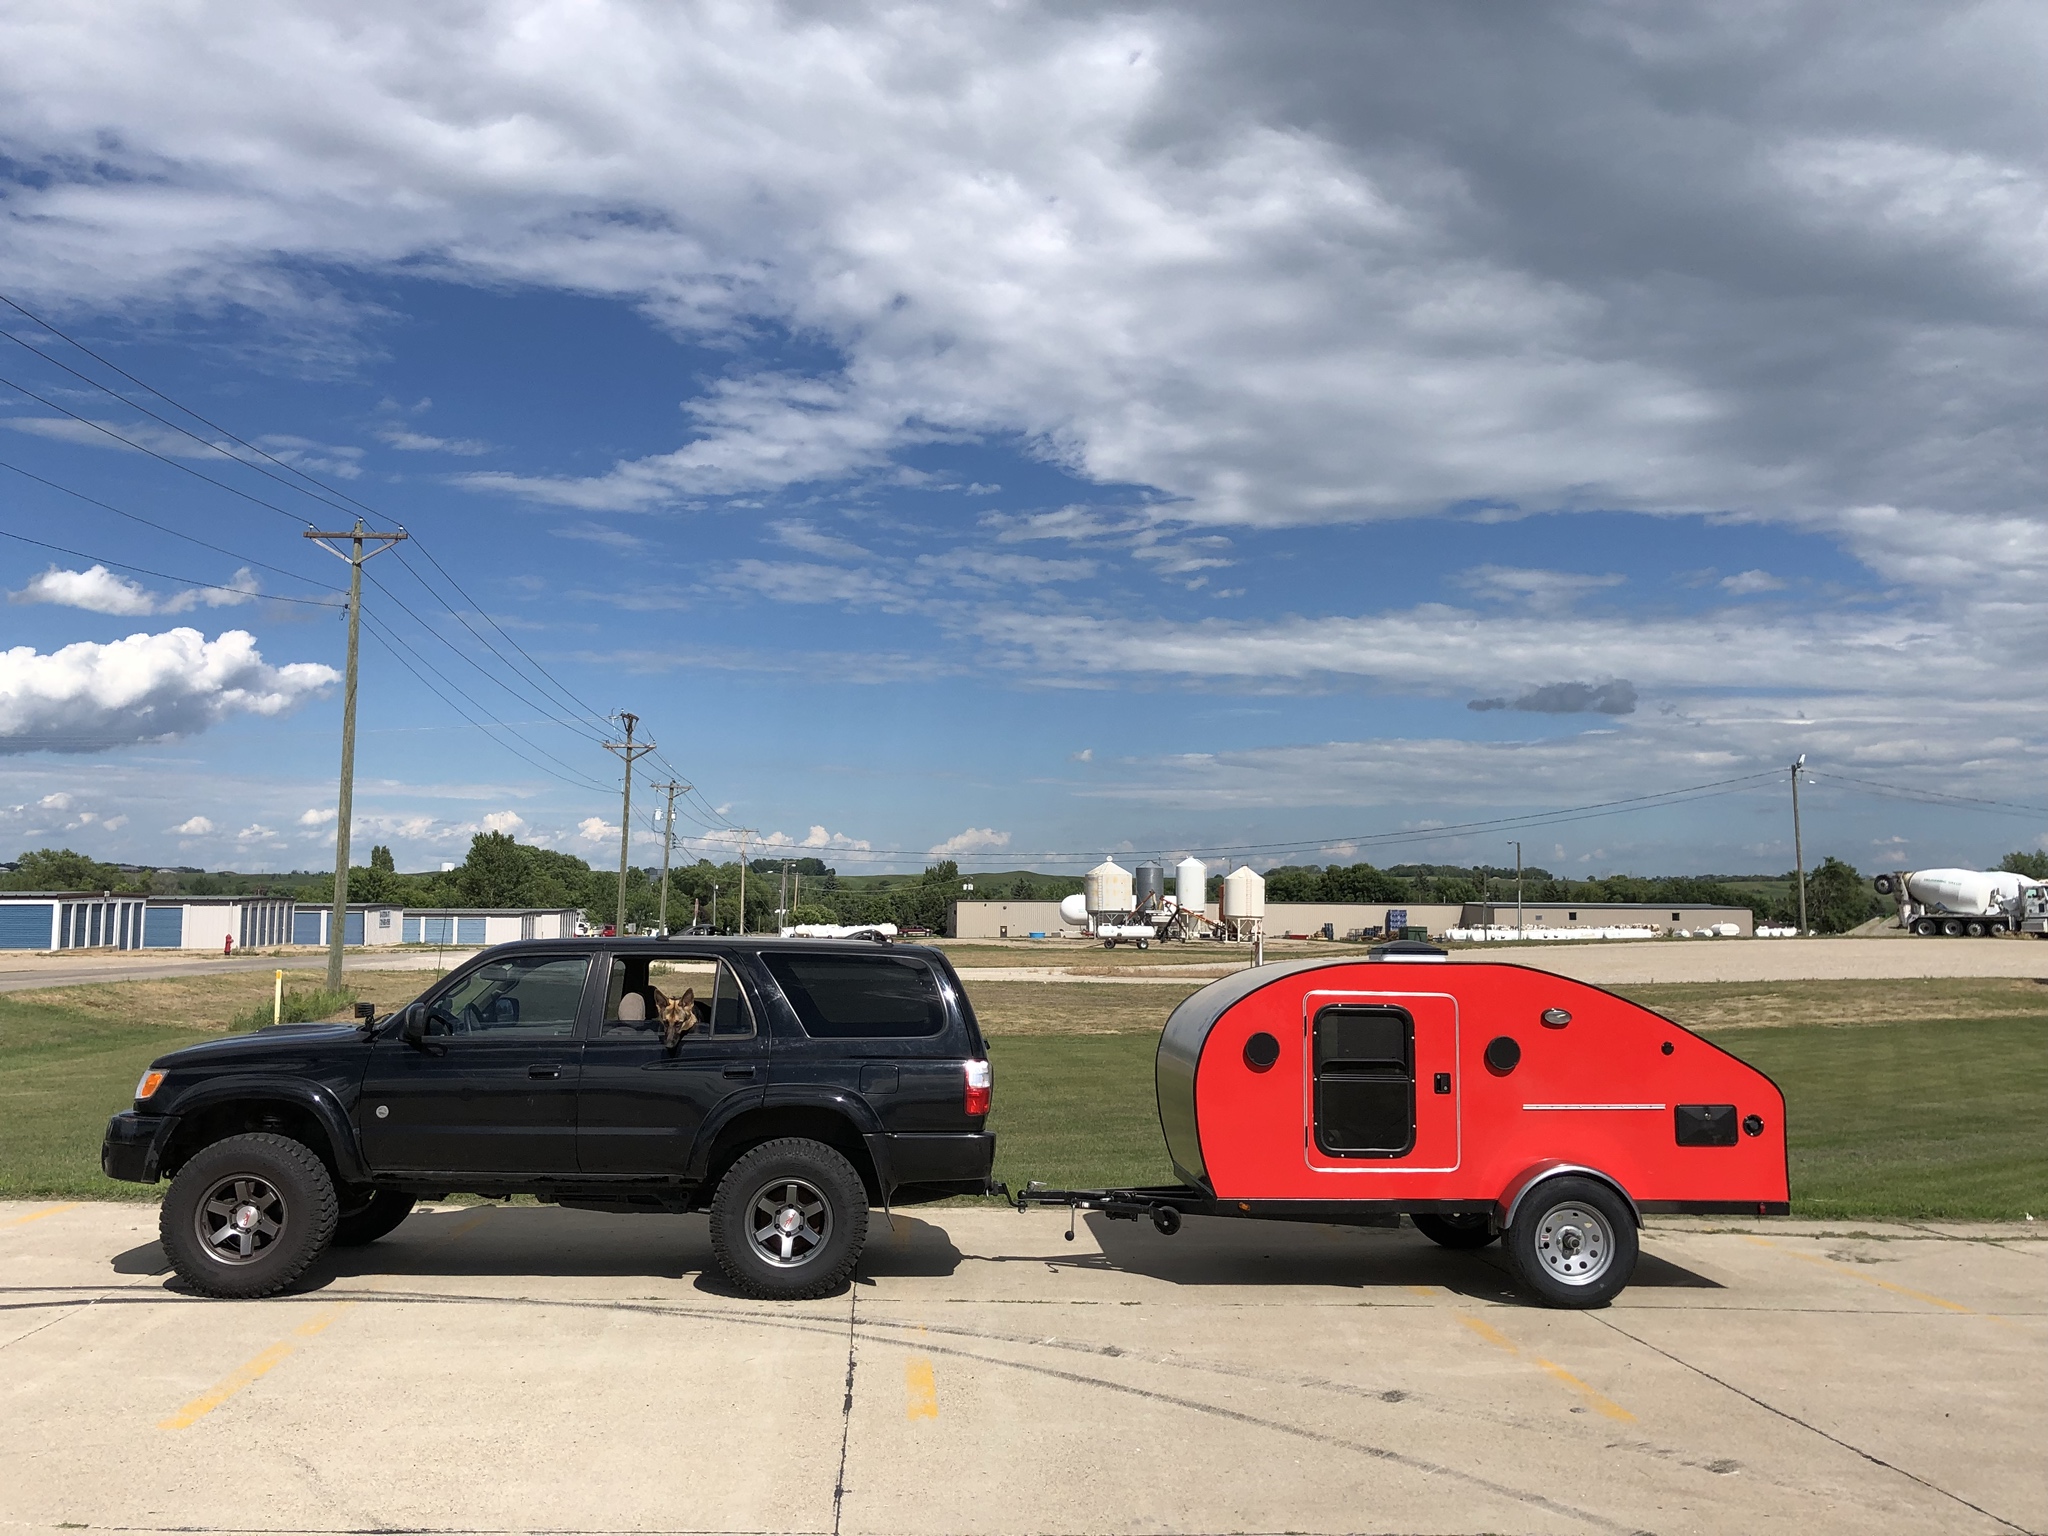
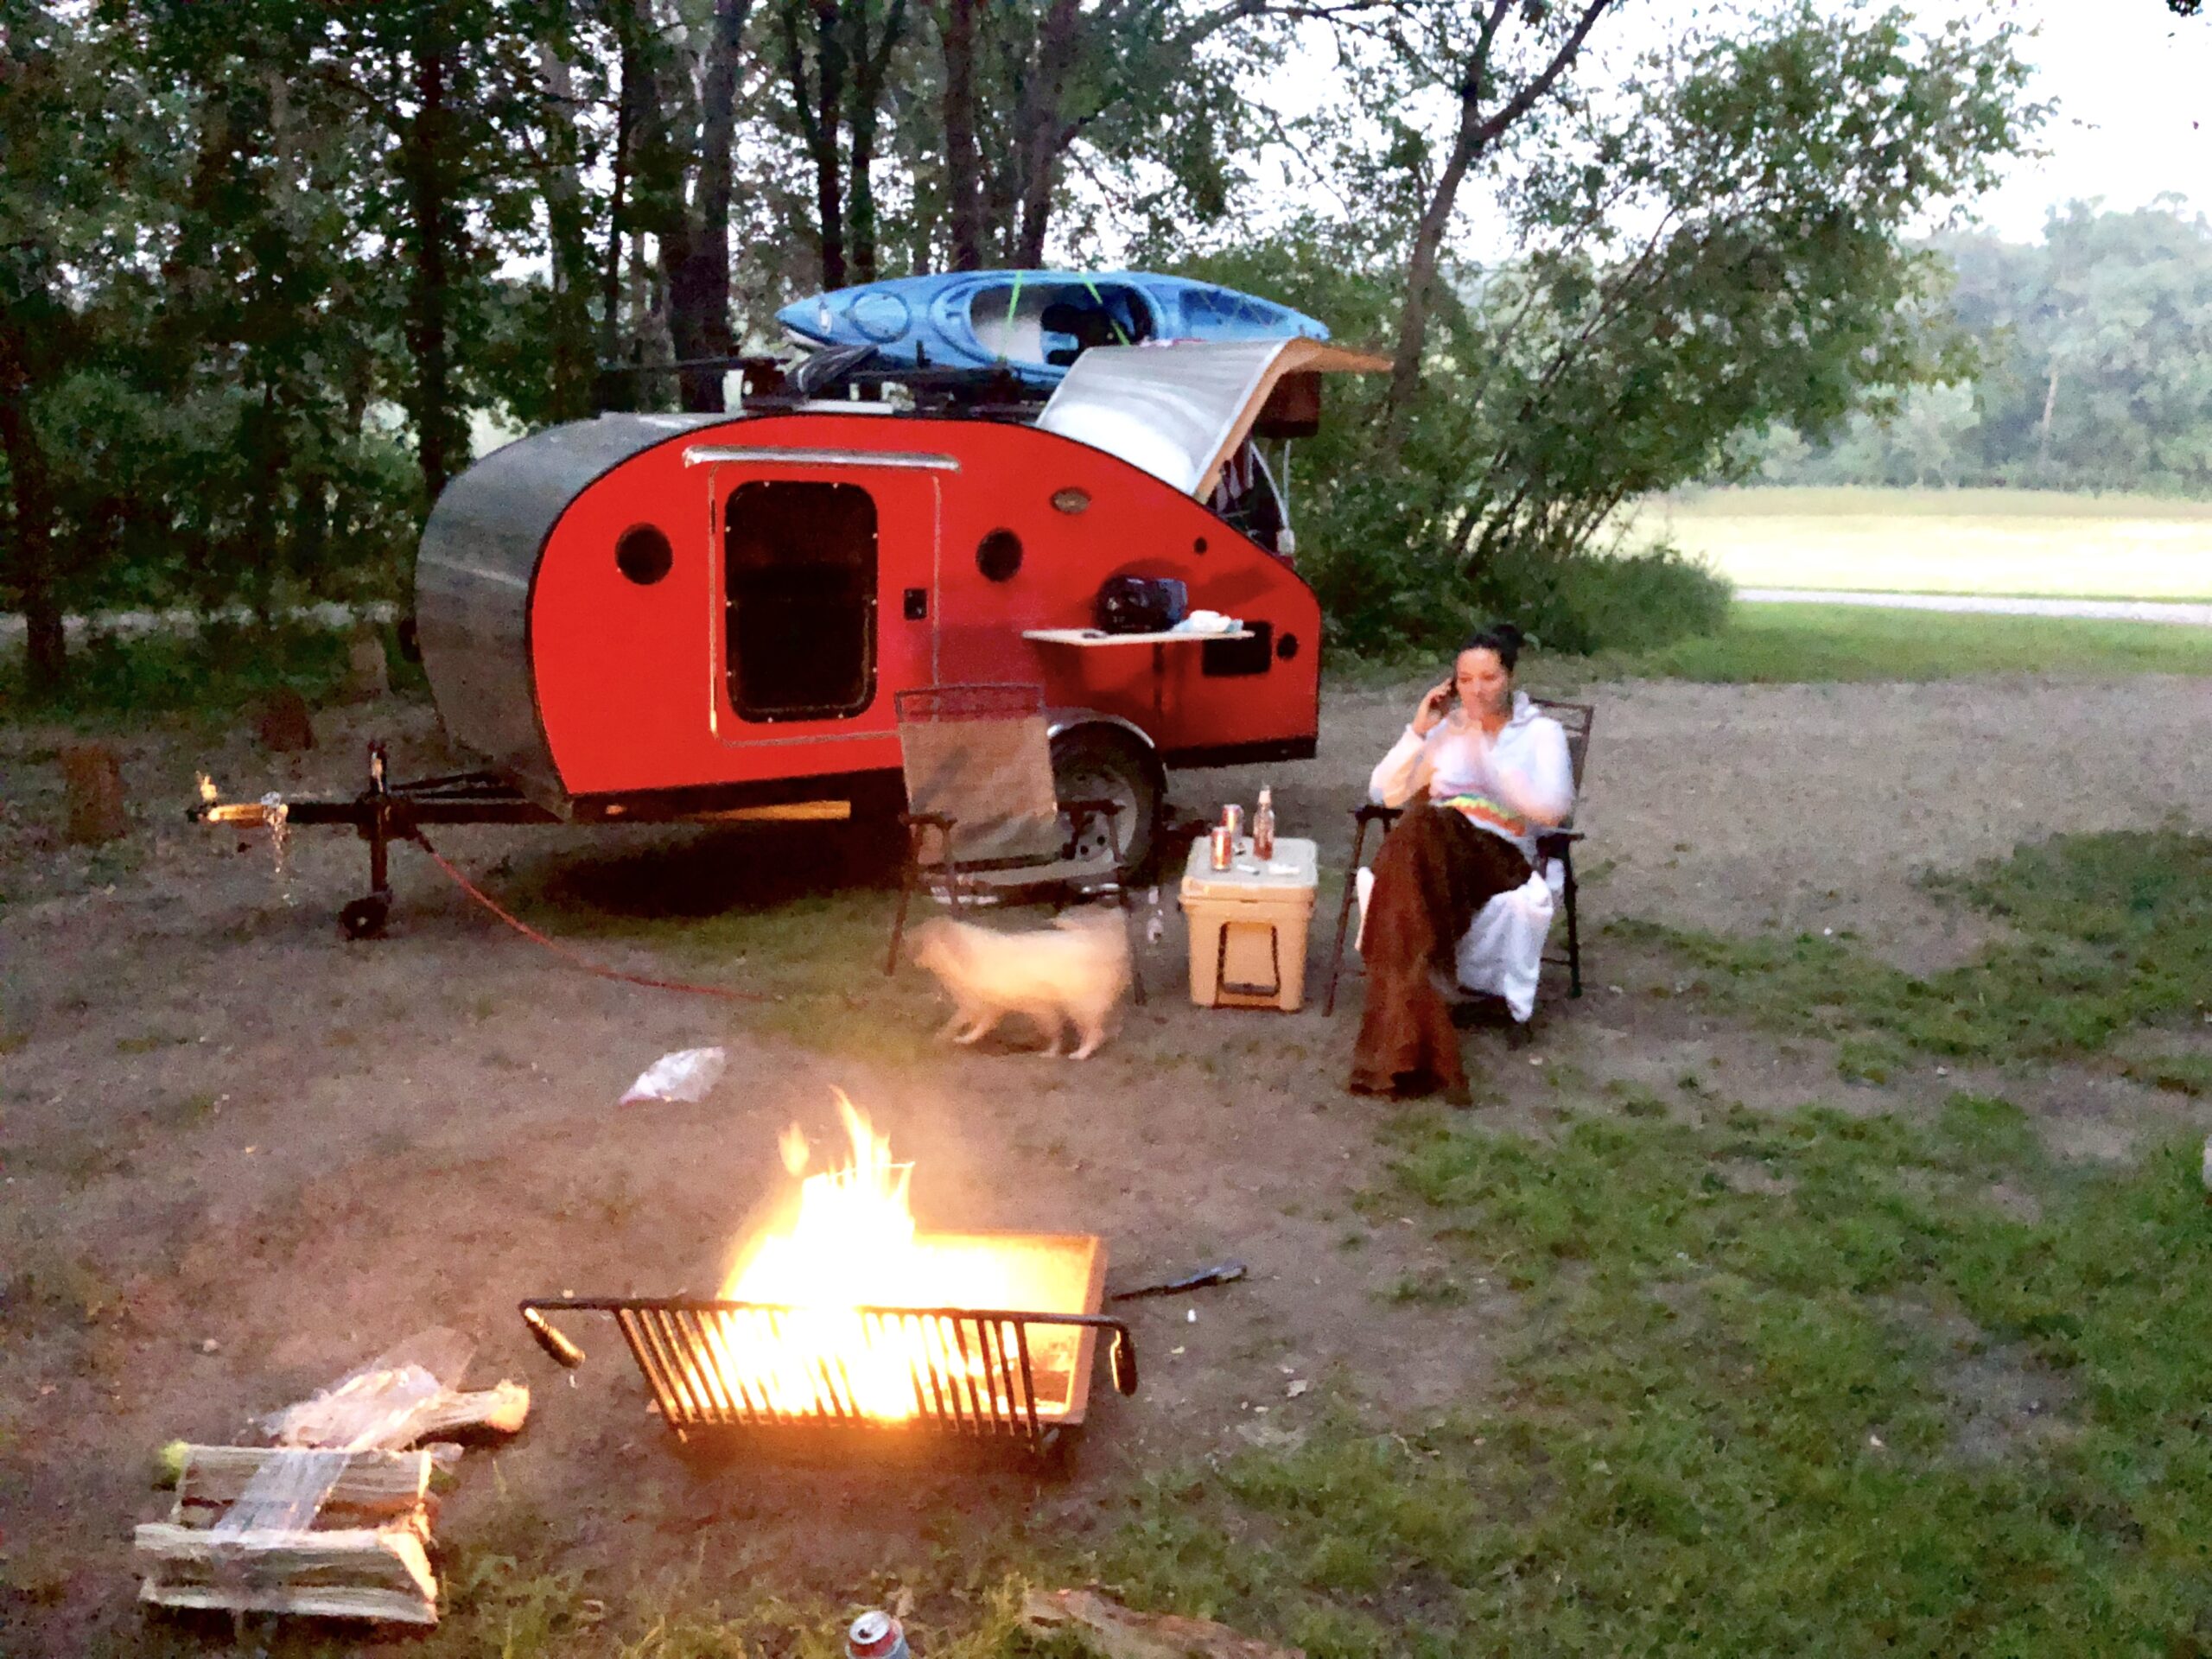
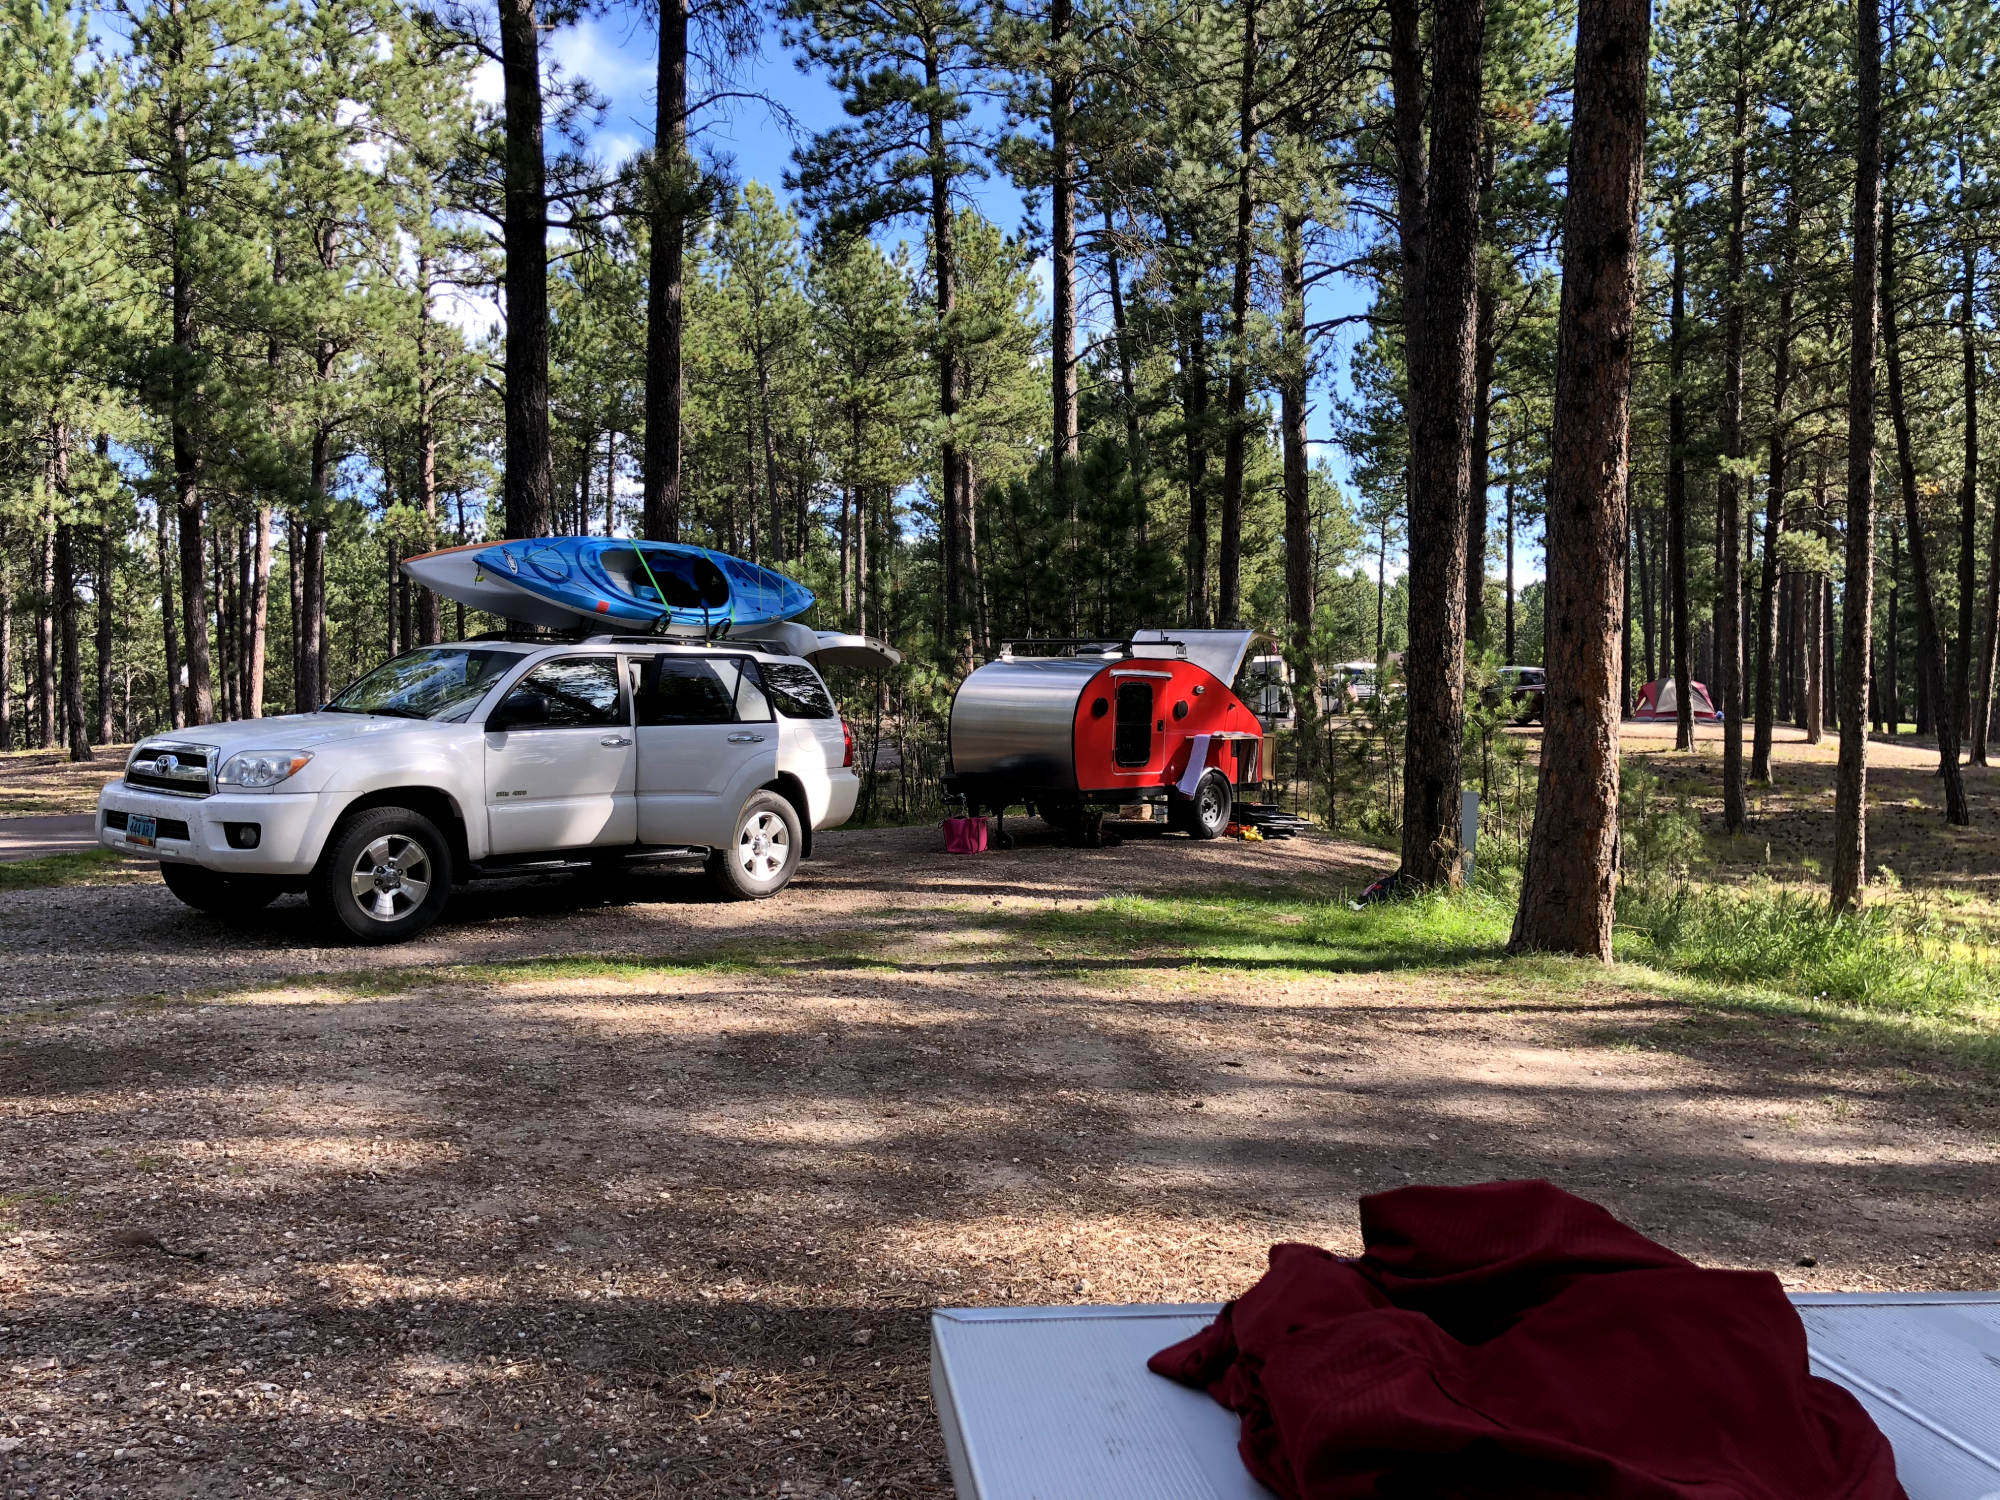
In 2017, I took on a project I’d been dreaming about for a while—building my own teardrop camper. I wanted something lightweight enough to tow behind my Toyota 4Runner, and I was ready to leave tent camping behind.
So, with plenty of enthusiasm and a bit of DIY spirit, I got to work. Along the way, I learned some invaluable skills, from framing and wiring to welding and custom fabrication. It was challenging at times, but the payoff was well worth it.
Starting the Build
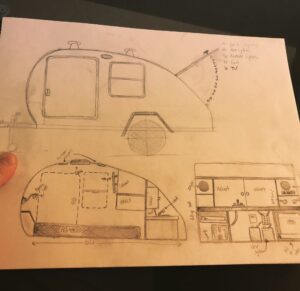
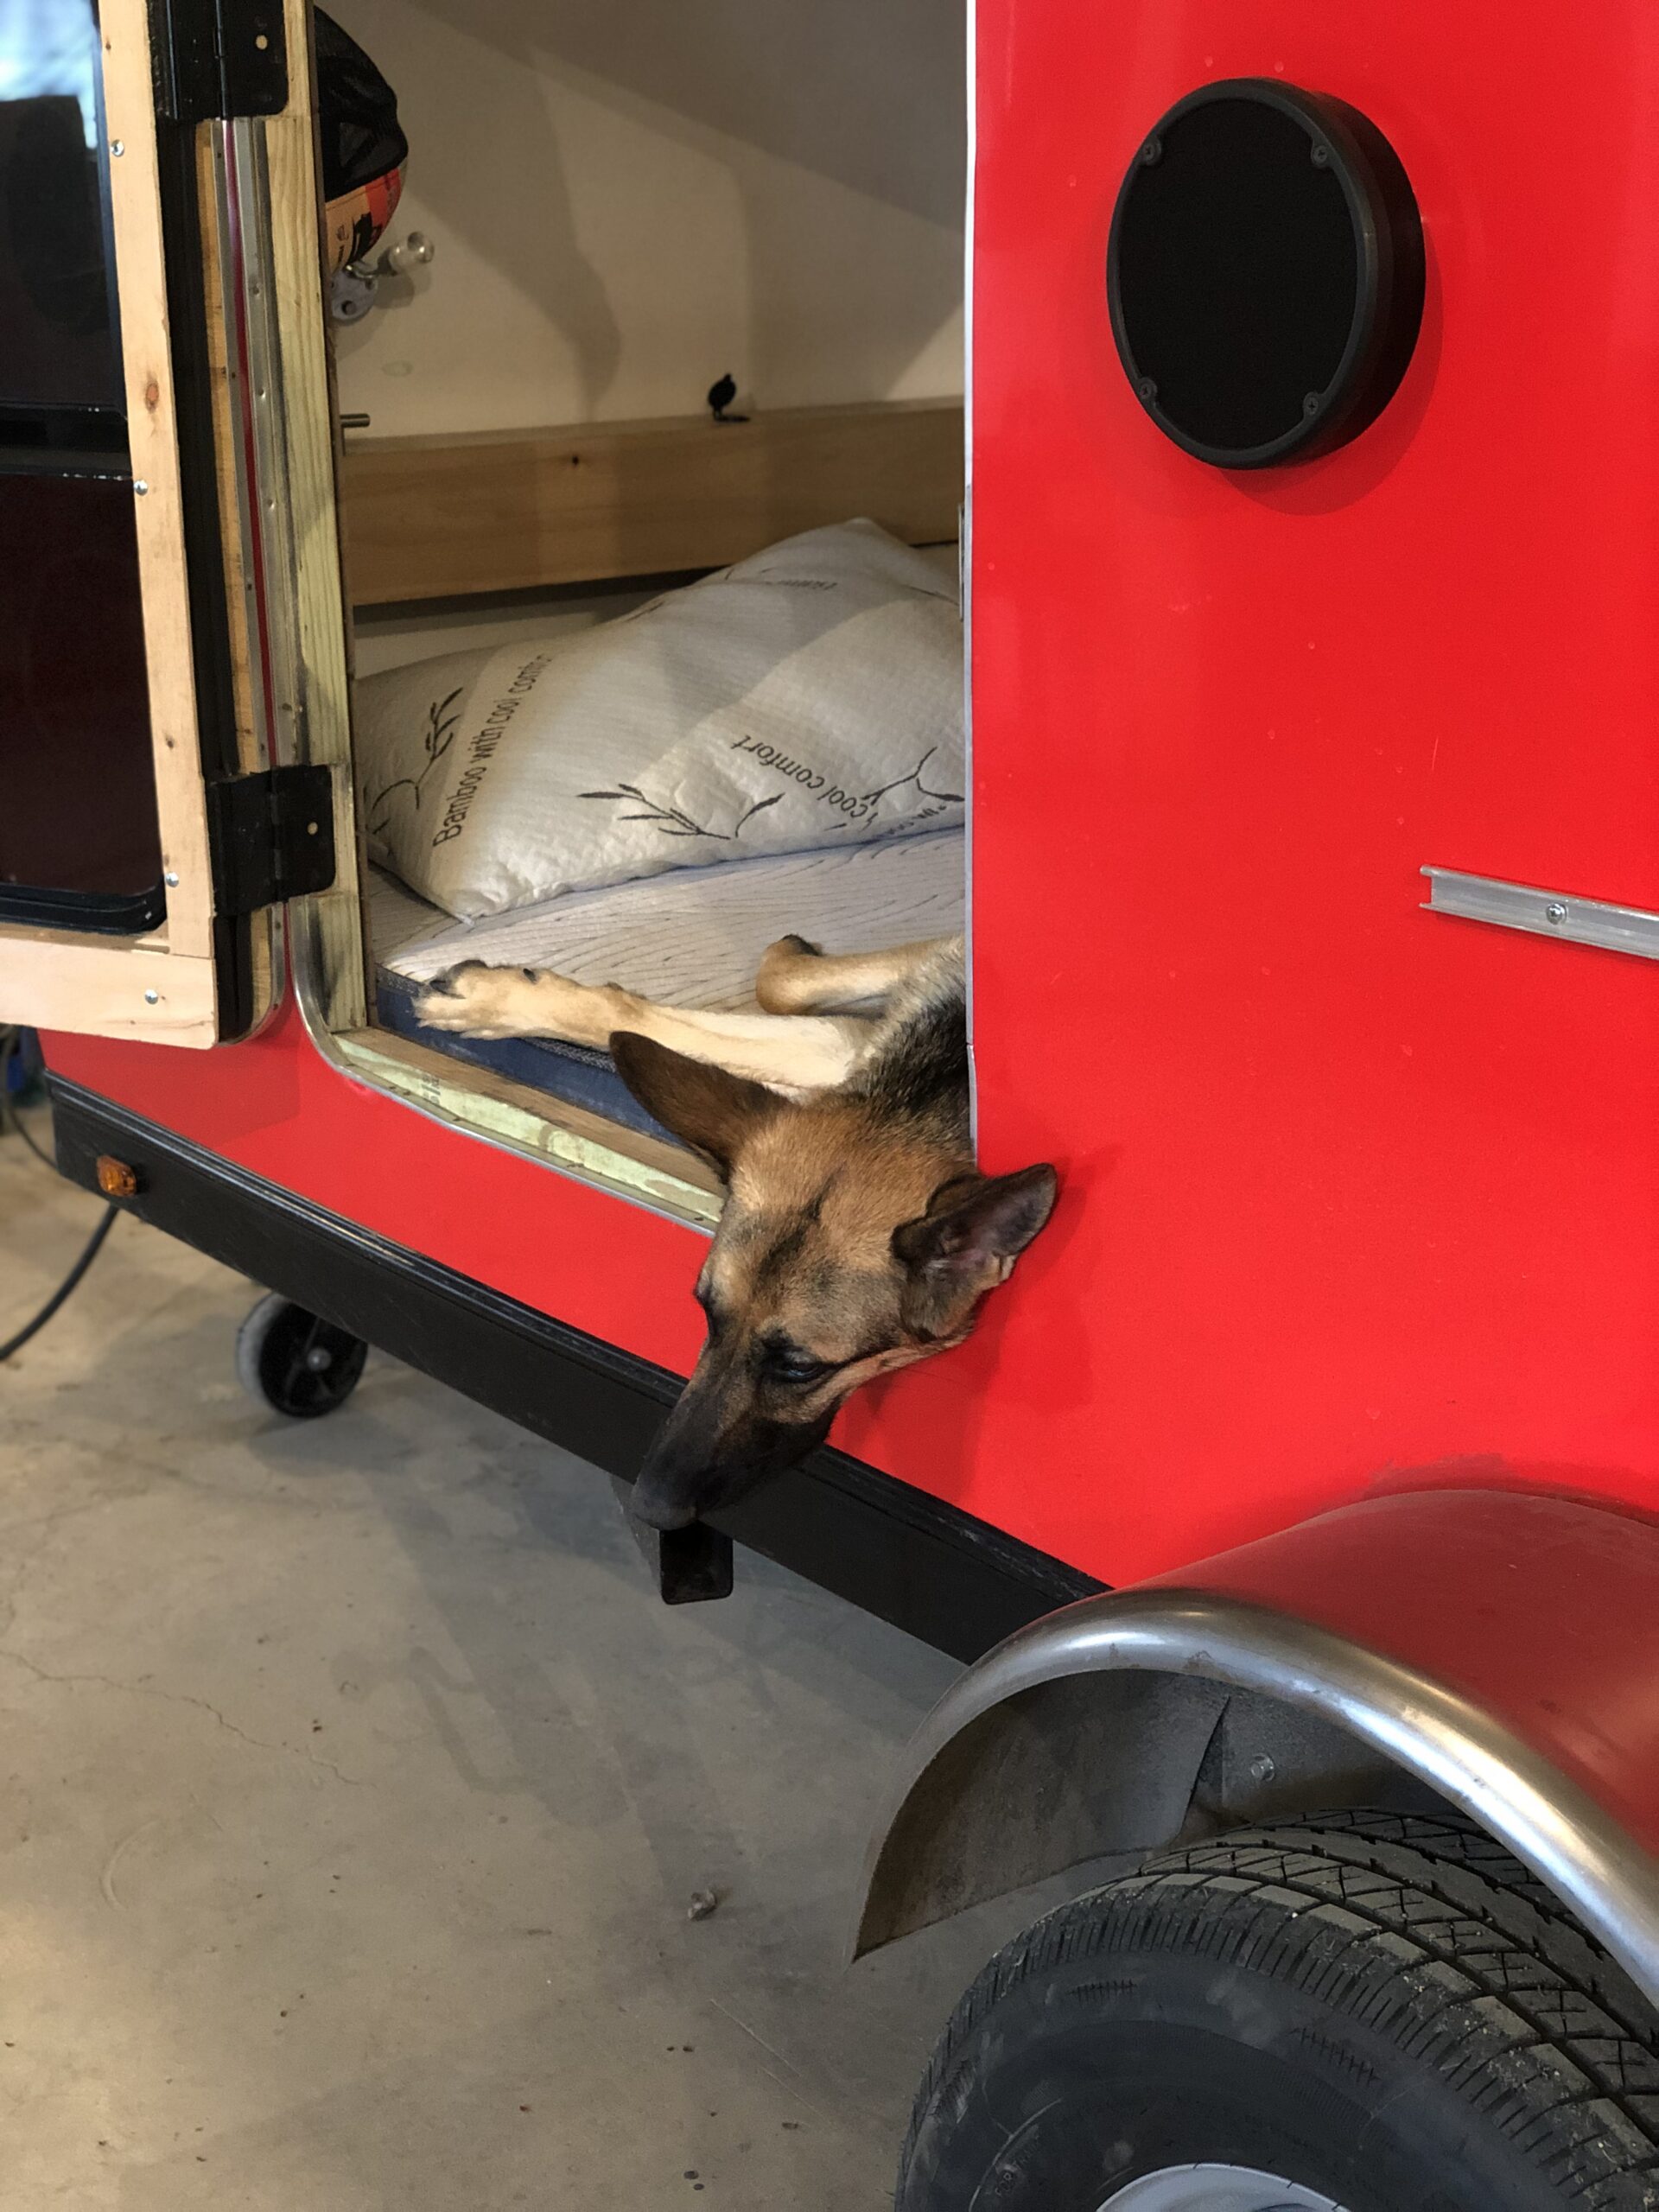
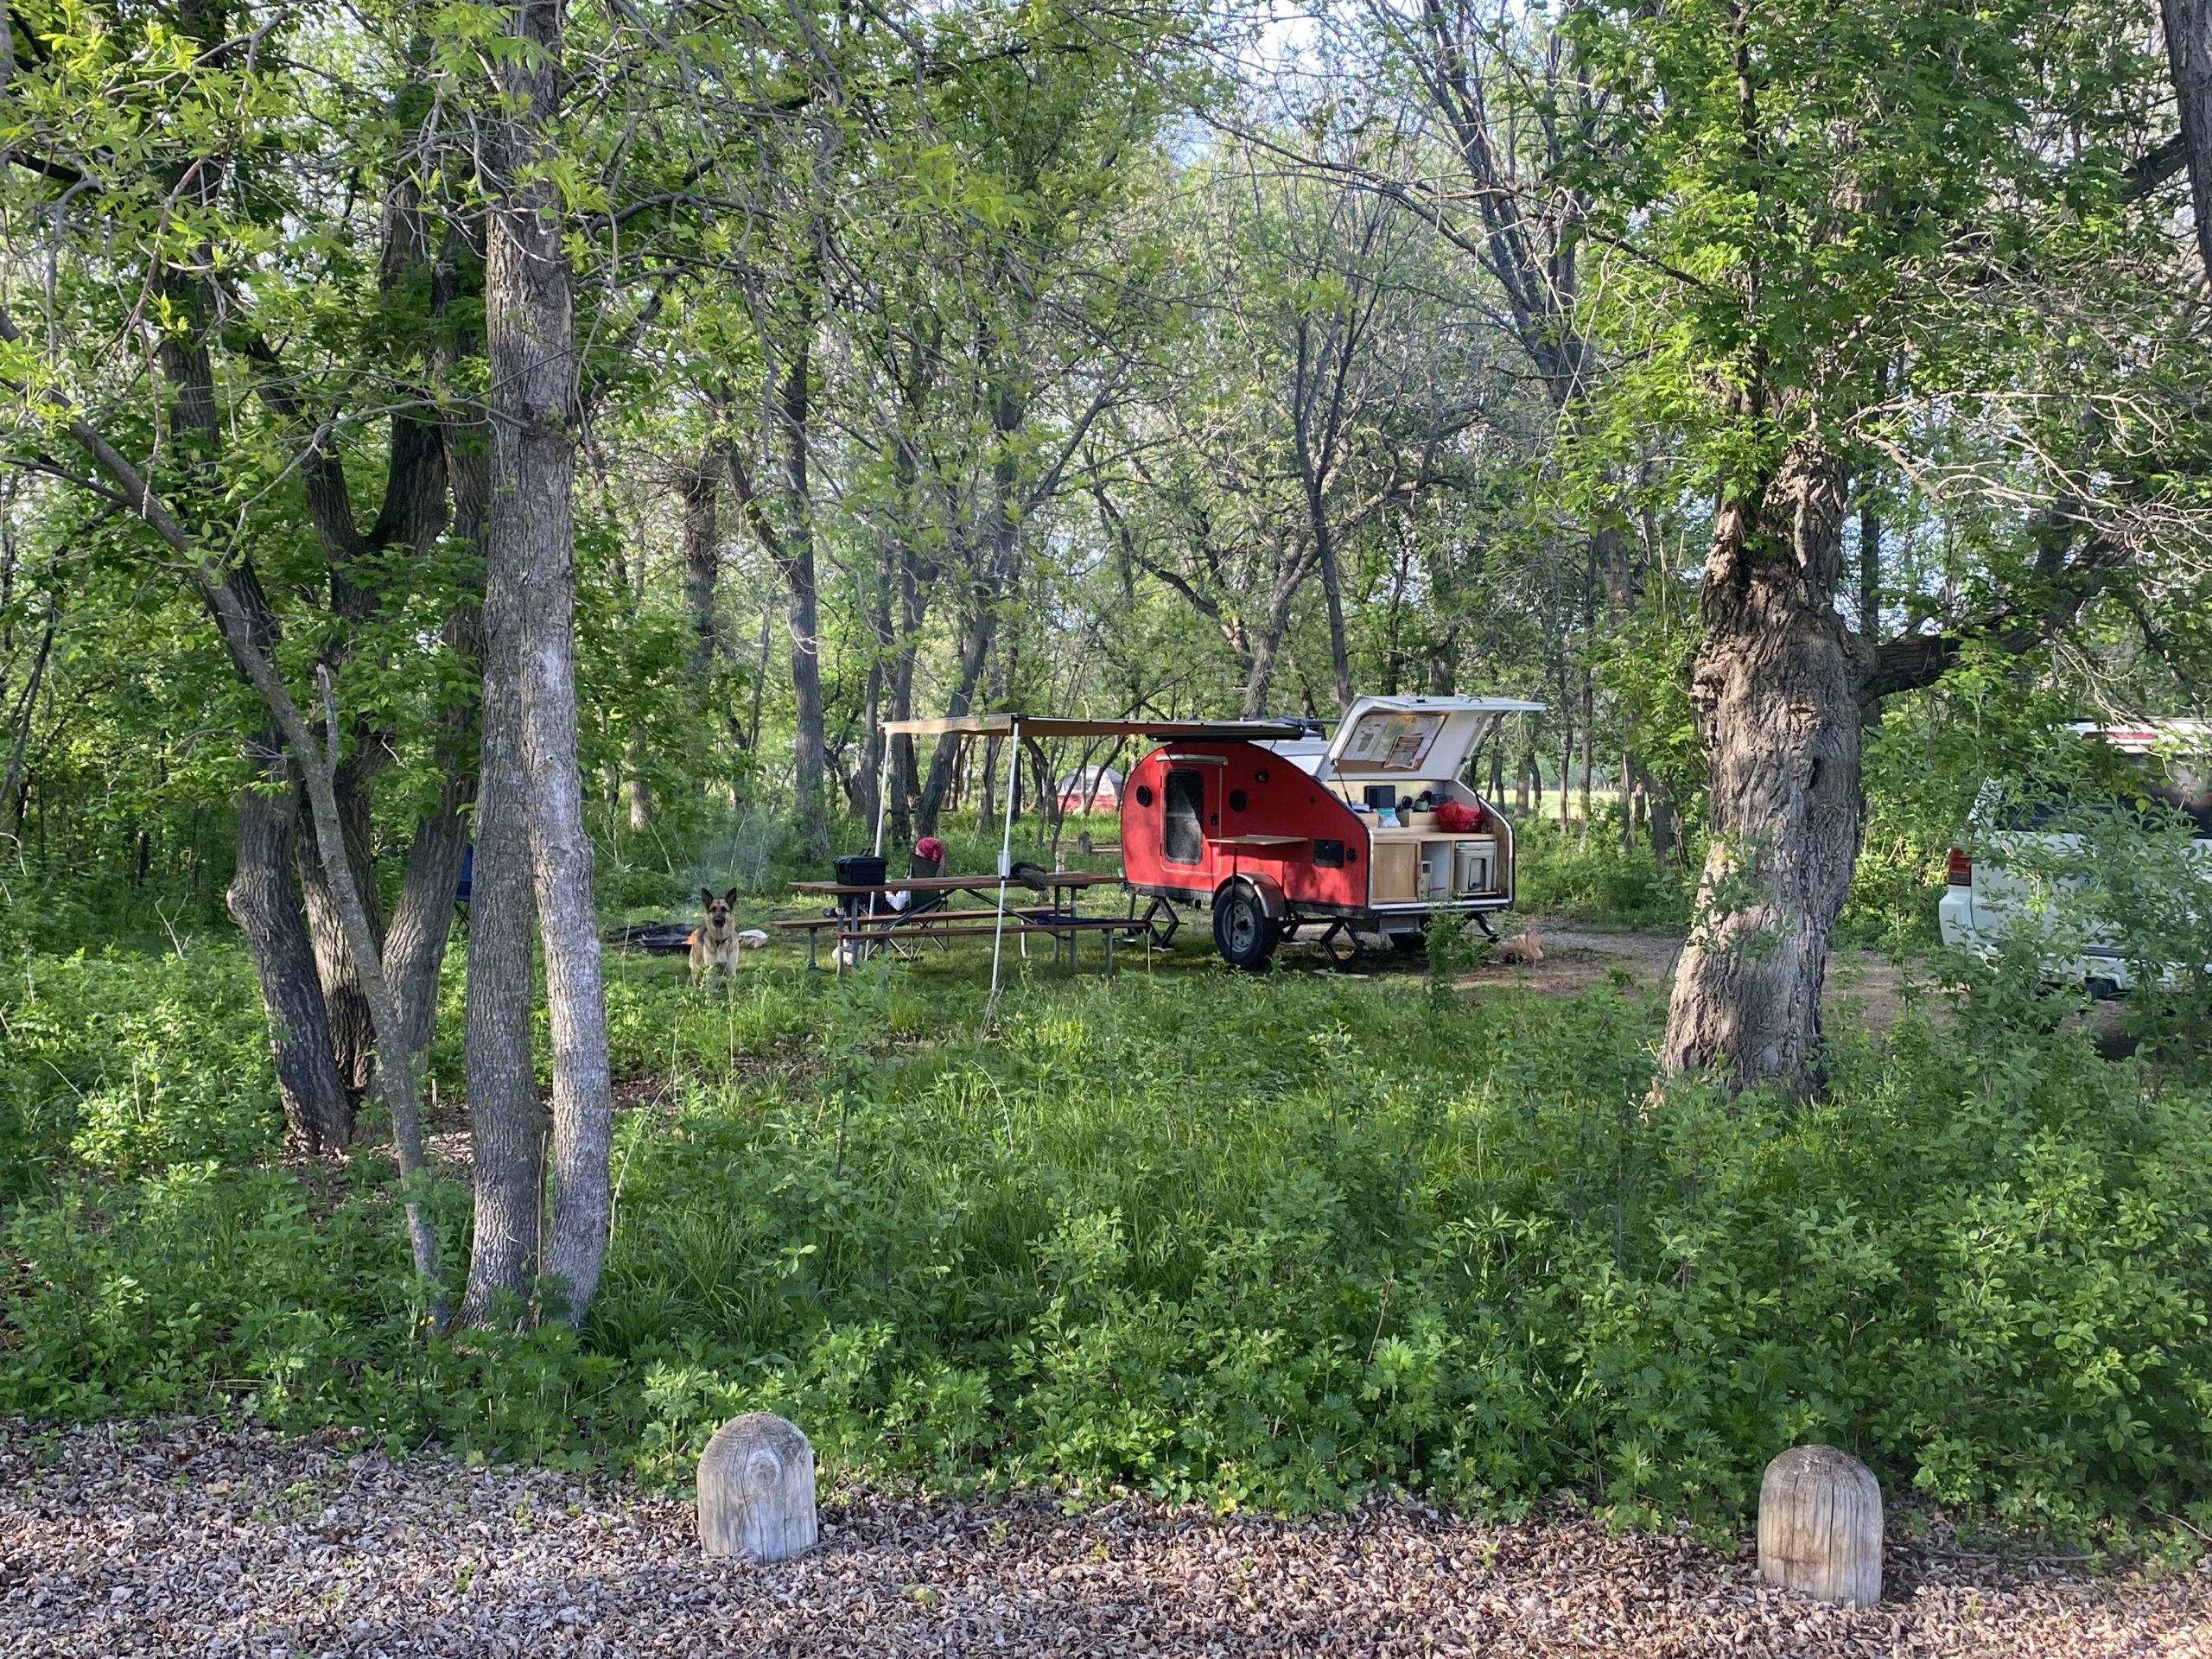
Most teardrop campers are around 4’x8’, but I decided to go a bit bigger with a 5’x10’ design. I wanted extra space for my growing German Shepherd and, of course, to accommodate a few extra things my (then-fiancée, now-wife) would bring along. The extra width allowed for a nearly queen-sized sleeping area and a more spacious rear kitchen galley—perfect for storing all our camping gear.
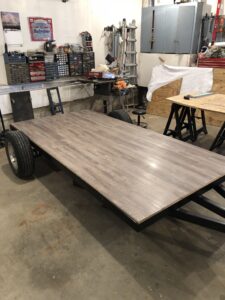
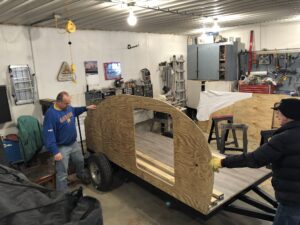
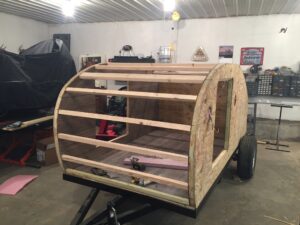
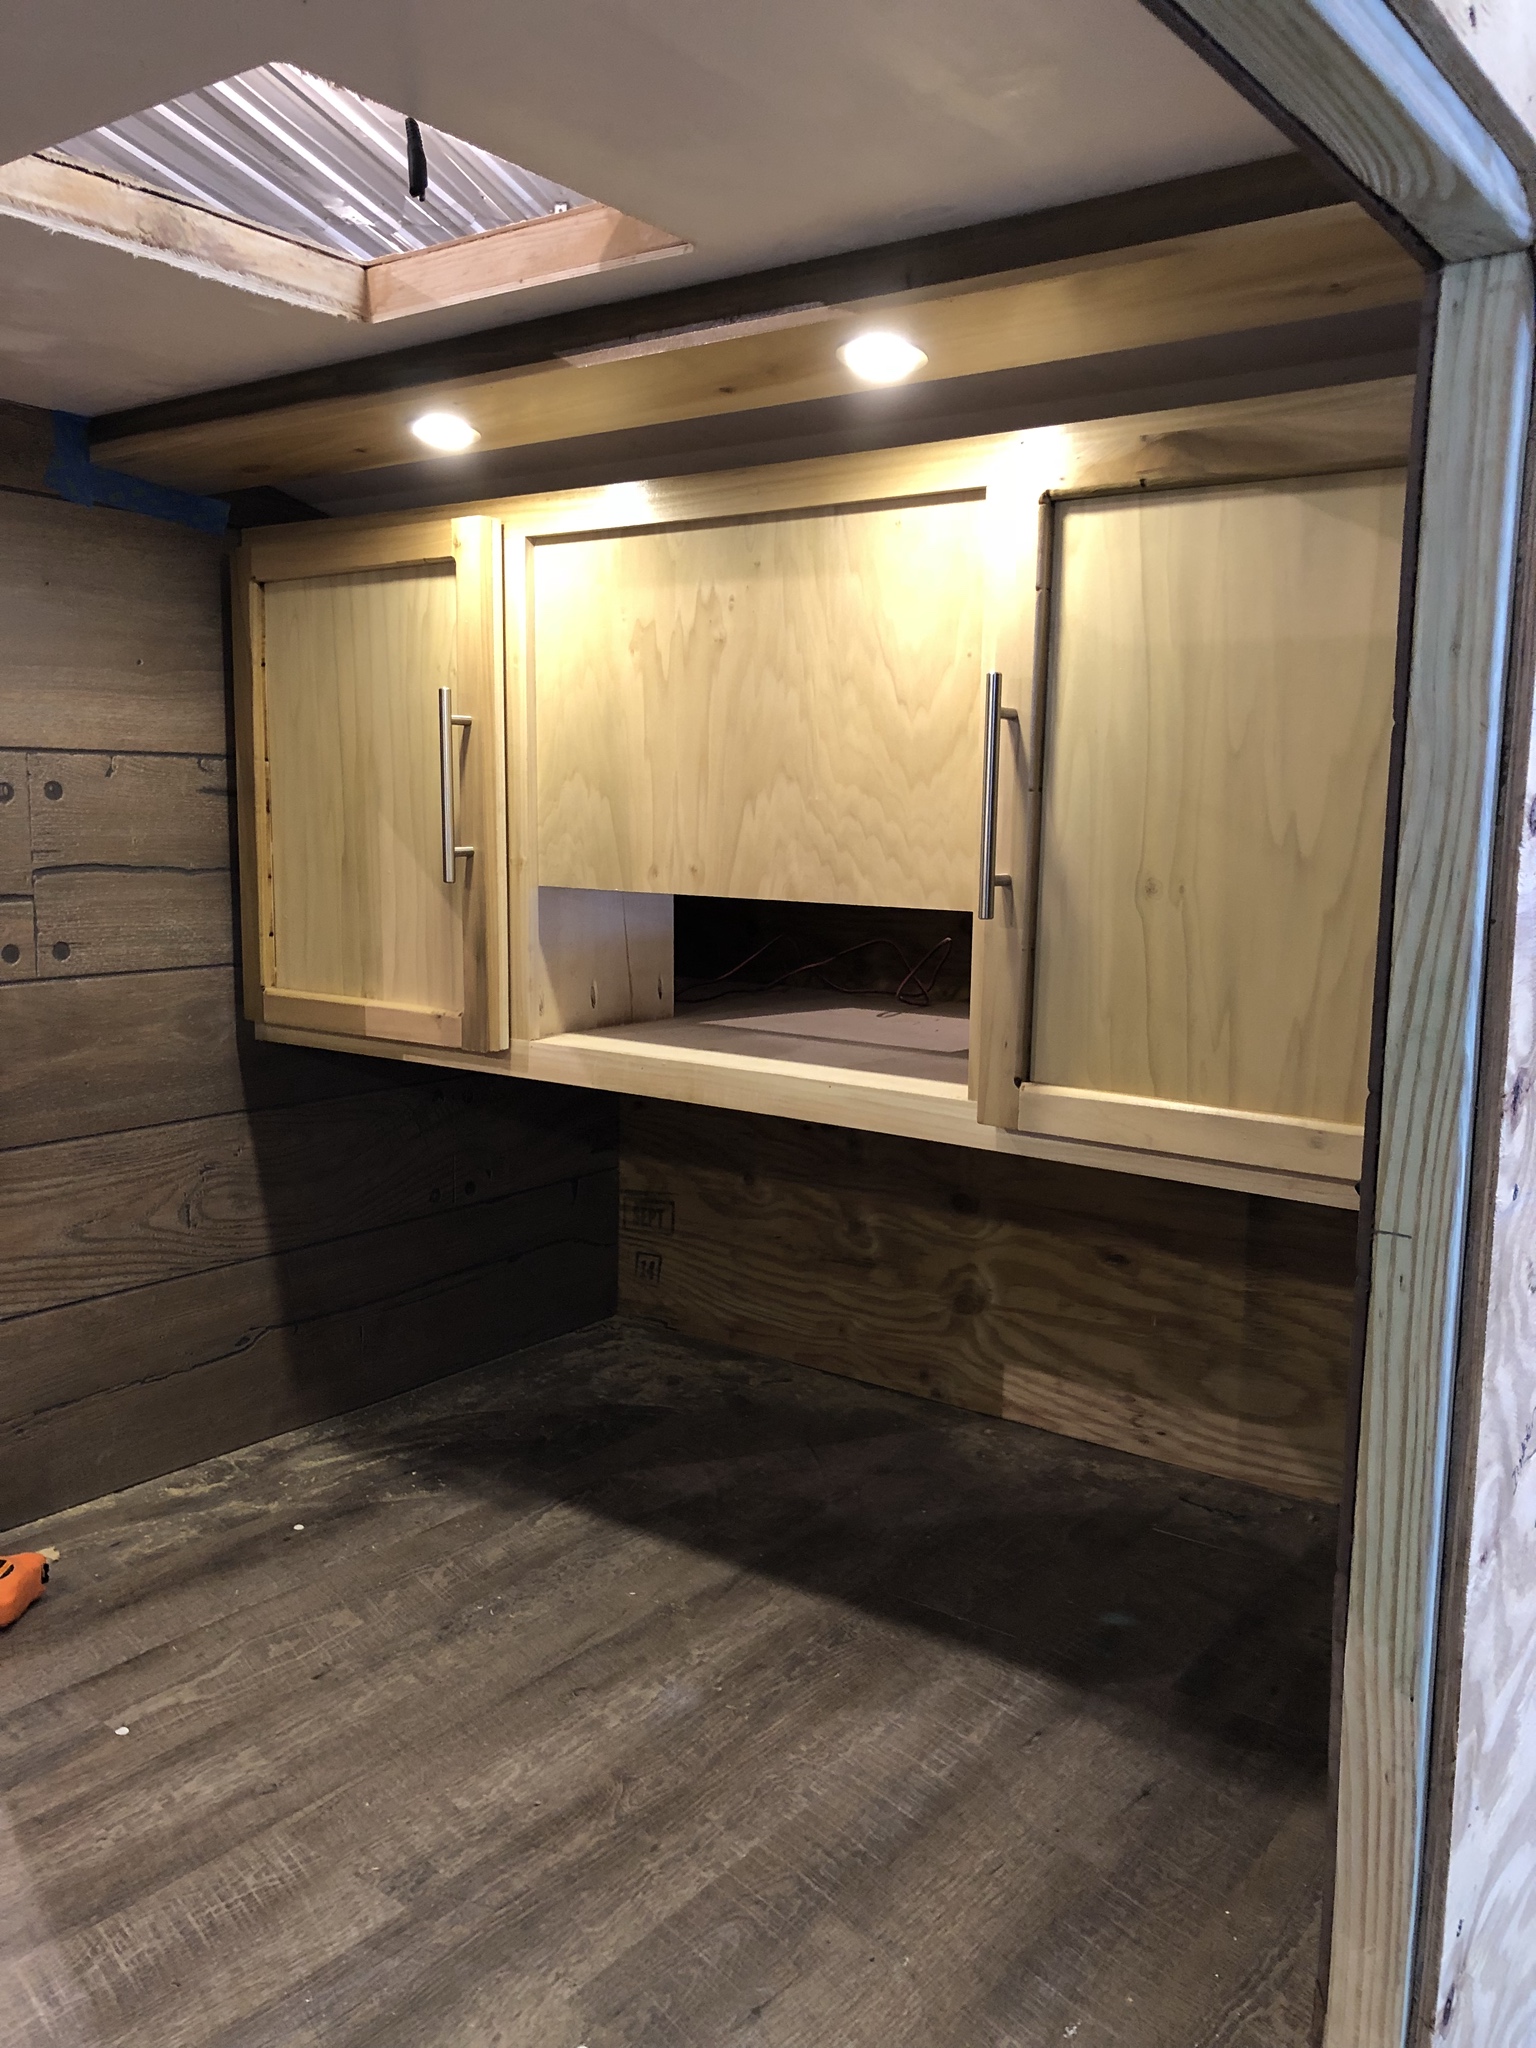
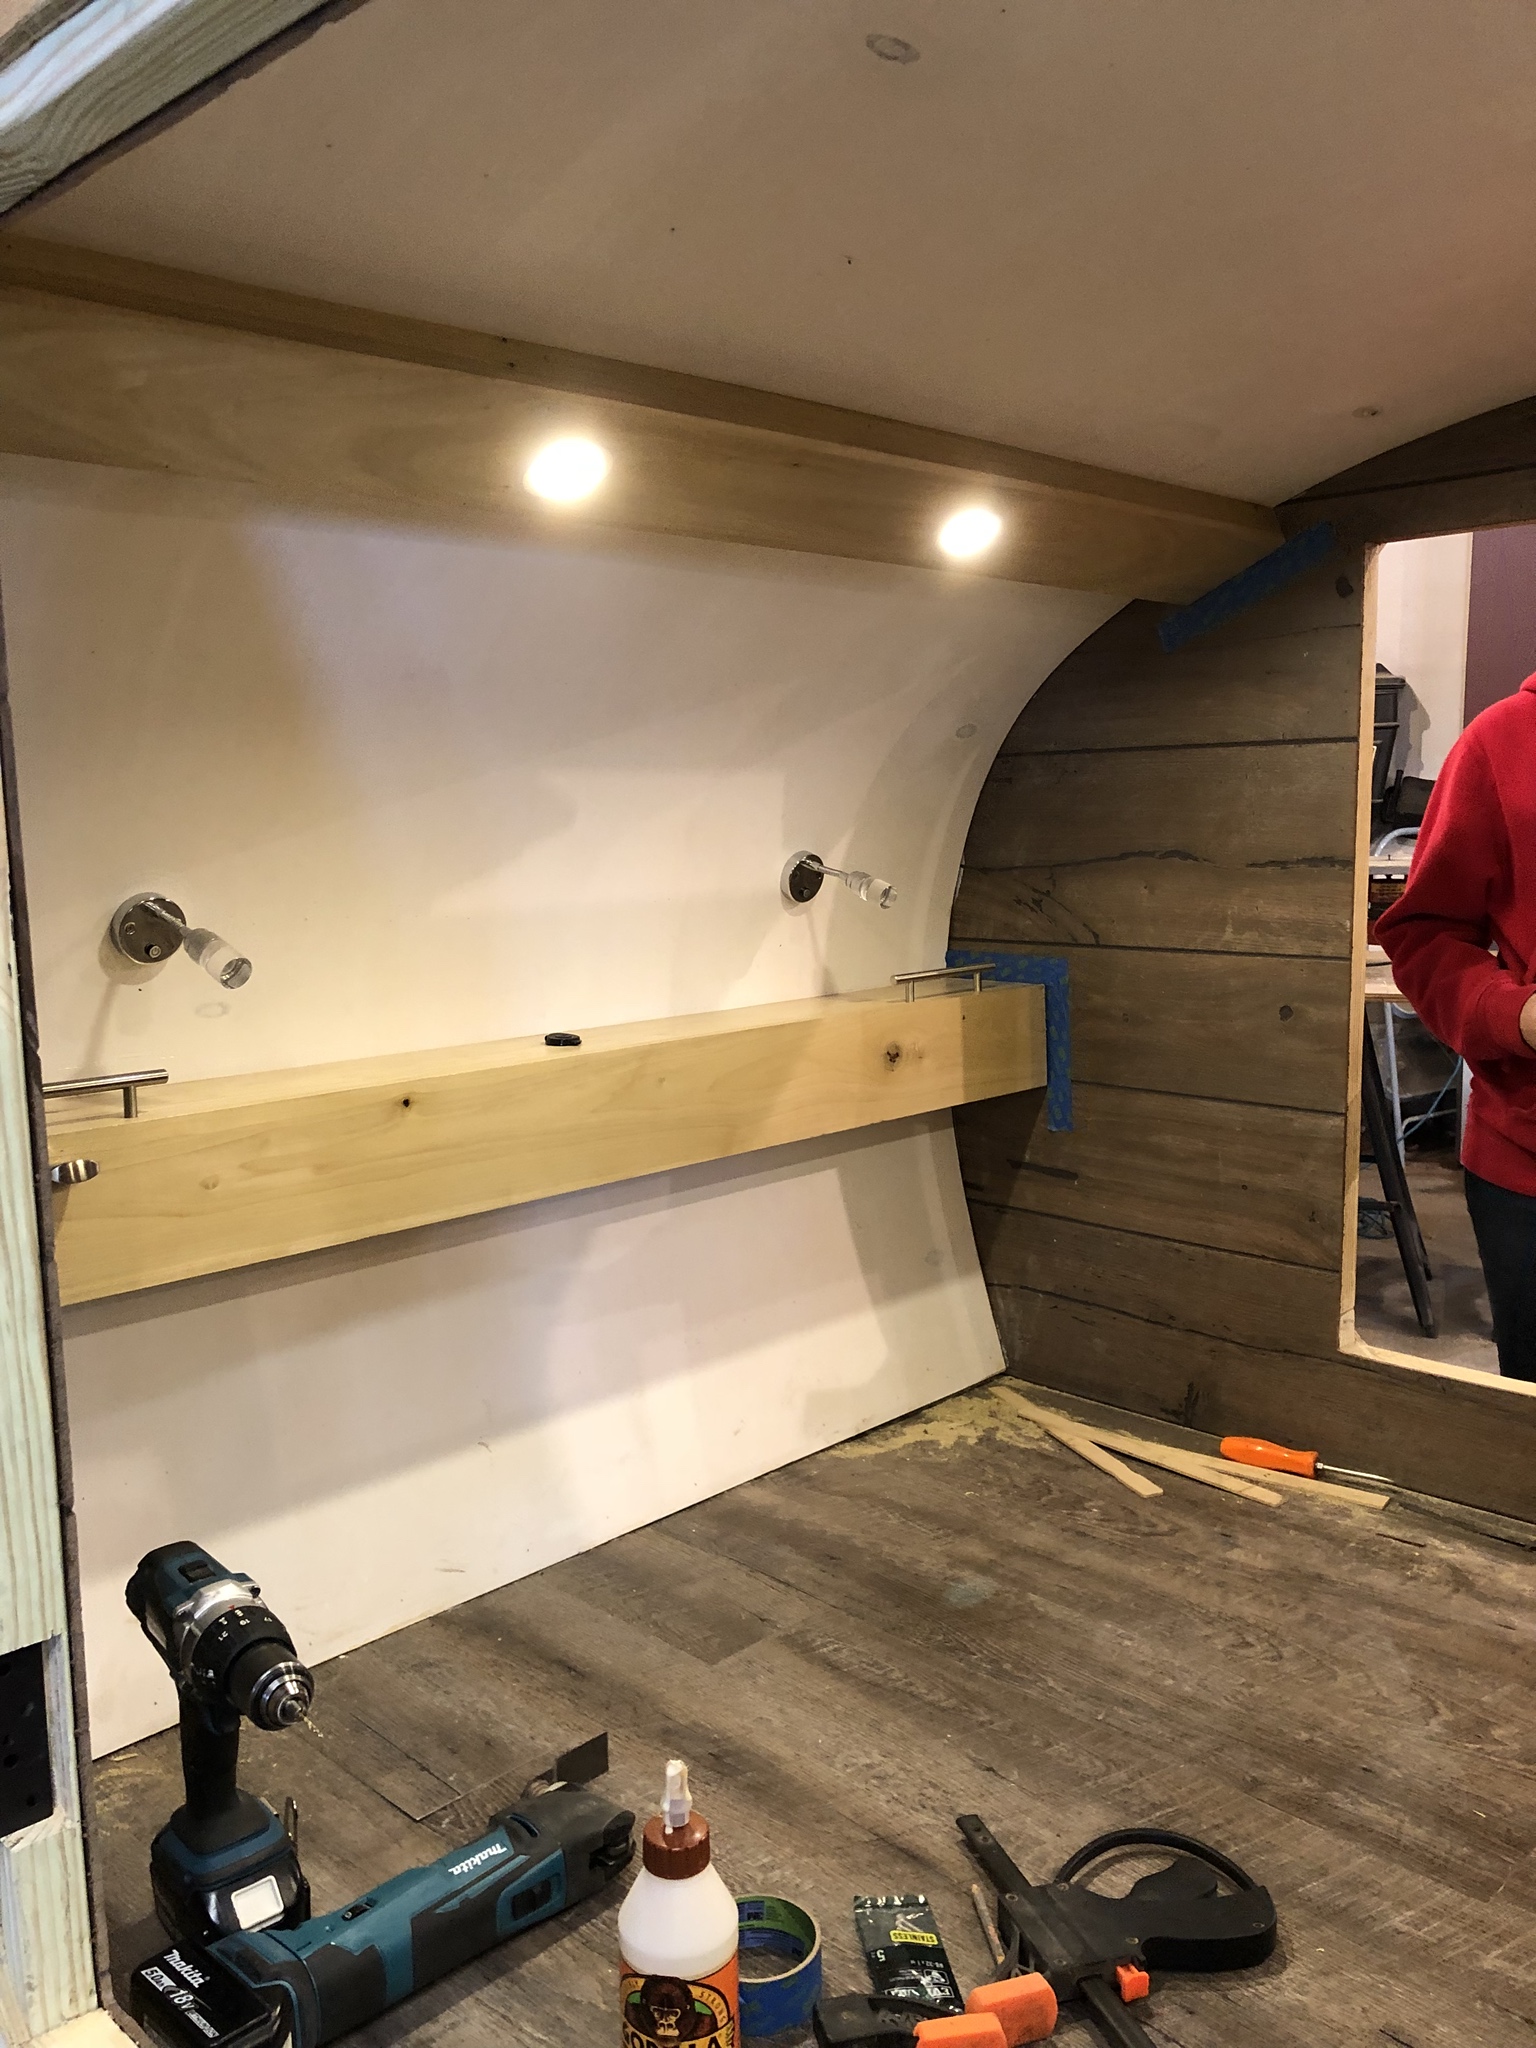
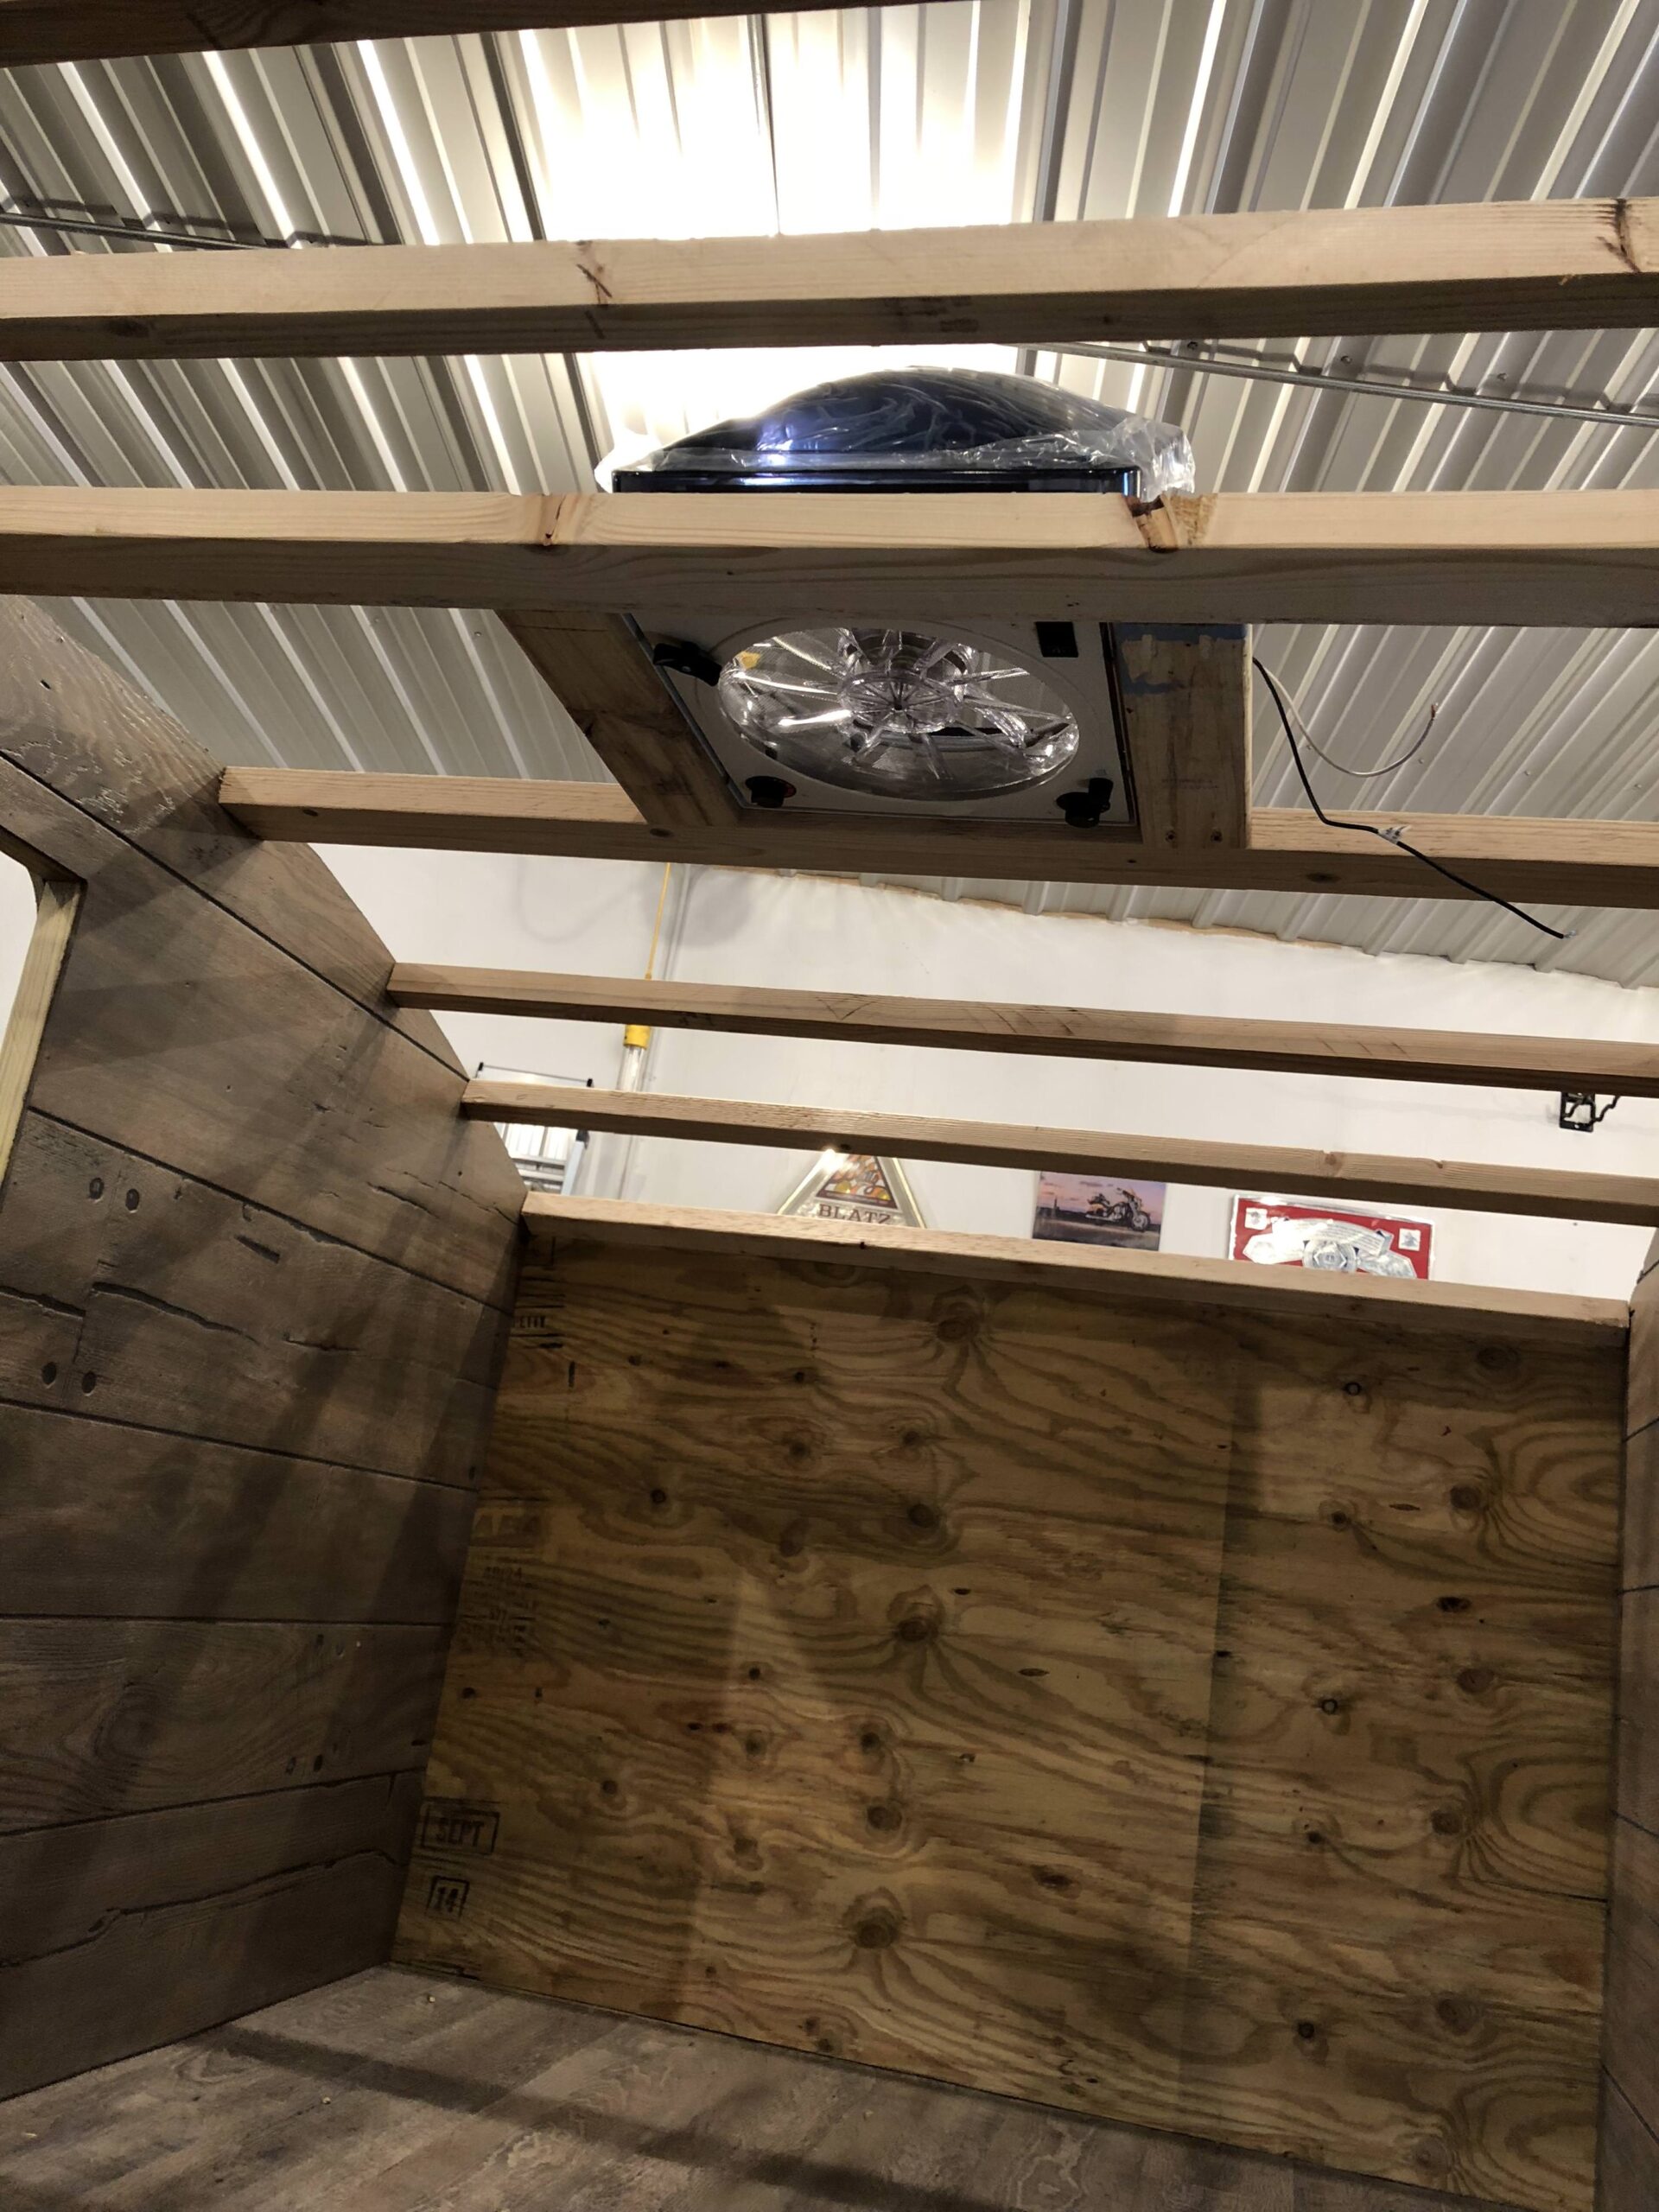
After welding the frame and installing the axle and wheels, the rest of the base came together quickly. I used ¾” plywood for the floor and added stick-on flooring to give it a finished look. From there, I framed the walls with 2x4s, ran the electrical wiring, and installed insulation. Once that was in place, I sealed the walls with 1/8” plywood to create a clean, polished interior. The camper was finally starting to take shape.
Electrical and Finishing Touches
For the electrical system, I wanted the flexibility to camp without being plugged into a power source. I installed an AC/DC converter, which allowed me to run both 120V and 12V power. This powered everything from interior lights and a fan to a small TV and exterior lighting. I also added a 12V pump connected to a 10-gallon water tank for an outdoor shower setup.
Looking back, one thing I would have done differently is using pre-fabricated doors. I decided to build my own, which worked fine, but they never quite closed perfectly. While they were fully functional and kept water and drafts out, they didn’t align as neatly as I would have liked.
The Final Product
Once everything was wired and insulated, I covered the camper in aluminum sheeting from a local racecar parts shop. I even special-ordered a 5-foot-wide piece for the roof to get the sleek, seamless look I wanted. In the end, the camper turned out better than I had imagined, and it’s been a reliable travel companion ever since.
What I Learned
This project didn’t just result in a great camper—it also taught me a wide range of valuable skills. From home renovations to electrical wiring, cabinet building, and even sourcing products to get the best price, I’ve used what I learned on this build in countless other areas of life.
When COVID hit, we didn’t travel much. We found out we were expecting, and life settled into more of a homebody routine. I came across RVshare.com and decided to rent out the camper, knowing we wouldn’t be using it for a while. By the end of the year, I sold the entire outfit to the last renter, turning a nice profit. Not only did I get great use out of the camper, but I was also able to make money during its final year with me.
In an ideal world, knowing what I know now, I would have kept the camper and continued to rent it out. We could have still used it, adding a tent for extra space, and enjoyed some great family adventures. Plus, it would have been a steady cash stream from rentals. This has inspired me to consider improving on my original design and building another camper—this time with the goal of renting it out and using it whenever we can.


